
Yes, you can clean your own air ducts, but only to a point. DIY duct cleaning removes surface dust and debris from the visible sections nearest to each vent. It won't reach the full length of the duct system, won't address mold or pest contamination, and won't match what professional equipment accomplishes.
That's not a reason to skip it entirely. Regular light cleaning between professional jobs keeps your system in better shape and extends the time between full cleanings. Our team at air duct cleaning in Raleigh, NC recommends thinking of DIY cleaning the same way you'd think of washing your car between detailing appointments. Useful maintenance, not a replacement for the real thing.
Here's exactly what DIY cleaning involves, what it accomplishes, and where its limits are.
What DIY Duct Cleaning Actually Accomplishes
The honest limitation of any DIY approach is reach. Household tools, even a shop vacuum with an extension hose, clean roughly the last 10 feet of each duct run. Most residential duct systems extend well beyond that, and the bulk of contamination sits deeper in the system where home equipment can't reach.
What DIY cleaning does well:
- Removes surface dust and debris from vent covers and grilles
- Clears visible buildup from the accessible ends of ducts near registers
- Reduces dust that would otherwise get pushed into rooms from the nearest duct sections
- Keeps vent covers clean so airflow isn't restricted by surface buildup
What it doesn't do:
- Clean the full length of the duct system
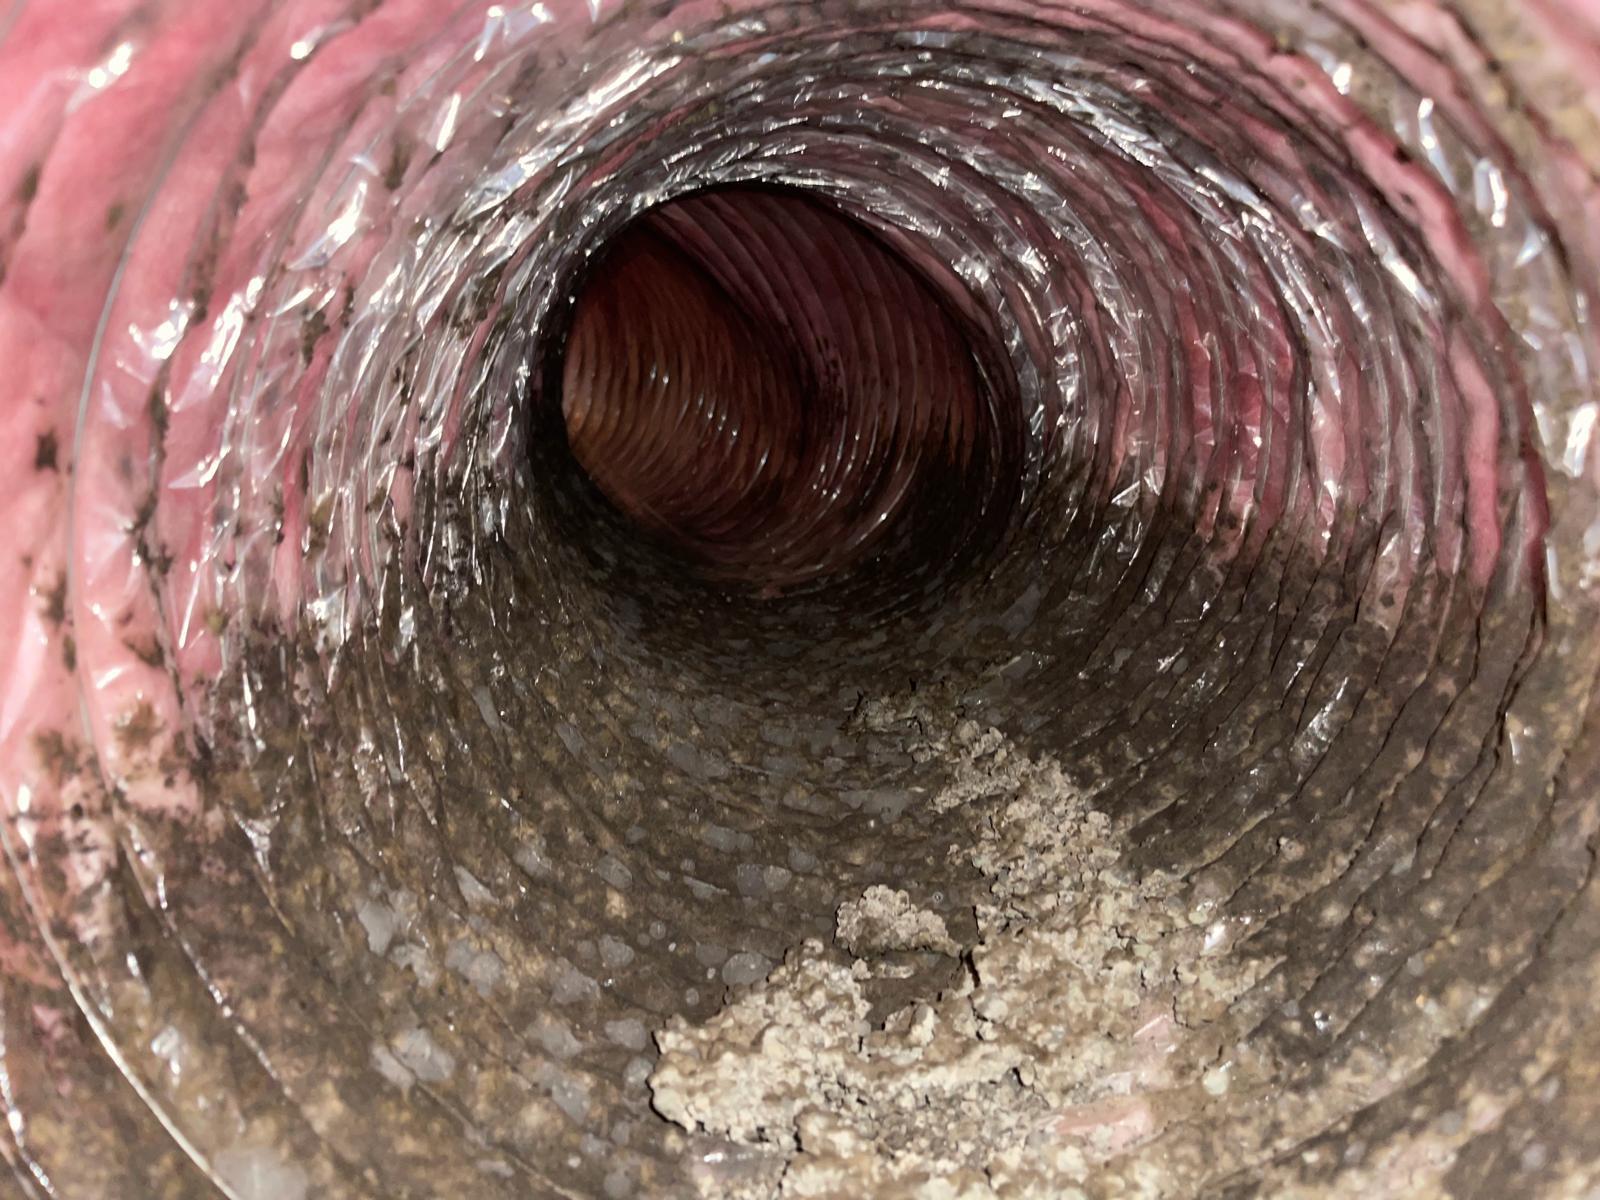
- Remove mold, pest debris, or heavy contamination
- Access the blower motor, evaporator coil, or other HVAC components
- Match the containment and extraction that negative air pressure equipment provides
Tools and Materials You Need
Before starting, gather everything on this list. Running out of supplies mid-job means dust gets stirred up with nowhere to go.
Tools:
- Shop vacuum with a long extension hose
- Stiff-bristled brush or vent cleaning brush kit
- Cordless screwdriver
- Flashlight
Materials:
- Microfibre cloths
- Dish soap and warm water for vent covers
- Paper towels
- Safety goggles
- Dust mask or respirator
- Duct tape or replacement filters
Step-by-Step: How to Clean Your Air Ducts at Home
Step 1: Turn off your HVAC system
Switch the thermostat off completely, both heating and cooling. Running the system while cleaning stirs up loosened dust and pushes it deeper into the ductwork or out into the room.
Step 2: Remove and wash all vent covers
Use a screwdriver to remove each supply and return vent cover. Wash them in warm soapy water, scrub off any buildup, and set them aside to dry completely before reinstalling. Don't rush this step since wet vent covers installed back over ducts add moisture to the system.
Step 3: Cover open vent openings temporarily
While you work on each duct one at a time, cover the other open vent openings with paper towels or old cloths. This stops loosened debris from traveling into other sections of the system while you're working.
Step 4: Loosen dust inside the duct opening
Use a stiff-bristled brush to scrub the interior surfaces of the duct as far as your arm and the brush handle can reach. Work in a circular motion to dislodge dust and debris that has stuck to the duct walls. This step is what separates a real cleaning from just vacuuming the visible opening.
Step 5: Vacuum out the loosened debris
Attach the longest extension hose available to your shop vacuum and insert it into the duct opening. Move it around to capture as much of the loosened material as possible. Go as deep as the hose allows. For floor vents, you may be able to reach further than wall or ceiling vents depending on the duct layout.
Step 6: Wipe down the accessible interior surfaces
Use a damp microfibre cloth to wipe the interior walls of the duct as far as you can reach. This picks up fine dust the vacuum may have missed and leaves the accessible section of the duct noticeably cleaner.
Step 7: Repeat for every supply and return vent
Work through the house systematically, one vent at a time. Return vents tend to have more buildup than supply vents since they pull air back into the system continuously. Don't skip them.
Step 8: Replace your air filter
Put in a fresh filter before running the system again. A clean system with an old, clogged filter undoes much of the work you just did. If your filter was already due for replacement, this is the right time.
Step 9: Reinstall vent covers and turn the system back on
Make sure vent covers are fully dry before reinstalling. Screw them back into place, turn the thermostat on, and check that airflow from each vent feels normal.
DIY vs Professional: What Each Actually Cleans
For a detailed look at what the professional process involves from start to finish, the air duct cleaning process covers every step and what separates a thorough job from a rushed one.
When to Stop DIYing and Call a Professional
Light maintenance is reasonable to handle yourself. These situations aren't.
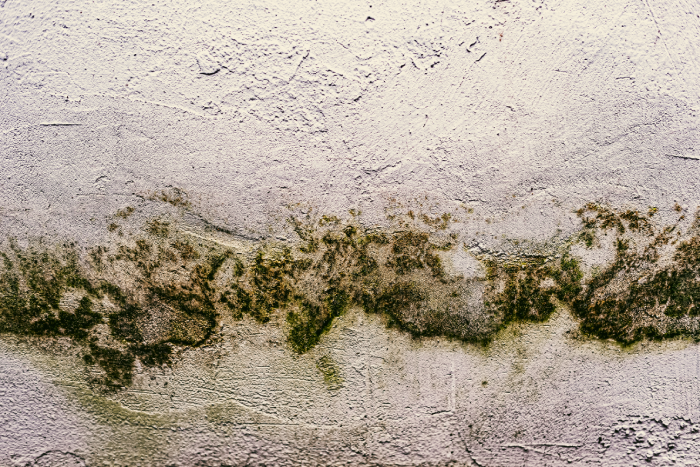
- Visible mold around vent covers or inside the accessible duct section. Disturbing mold without proper containment spreads spores through the system. This needs professional handling and in more serious cases, professional mold removal in North Carolina alongside duct cleaning.
- Signs of pest activity including droppings, nesting material, or a foul smell coming from the ducts.
- Heavy contamination that doesn't improve after DIY cleaning, or dust that returns within days of cleaning despite a fresh filter.
- Post-renovation dust from a construction or remodeling project that pushed debris deep into the system.
- No prior professional cleaning on a home that's several years old.
If you're seeing any of these, signs your ducts need cleaning covers the full checklist of what warrants professional attention versus what light maintenance can address.
Tips to Keep Ducts Cleaner Between Cleanings
A few habits make your DIY cleaning more effective and extend the time before a full professional cleaning is needed.
- Change your air filter every 30 to 60 days, more often with pets or during heavy pollen season
- Vacuum around vent covers regularly to stop surface buildup from getting pulled into the ducts
- Keep indoor humidity below 50% to slow mold and dust mite growth inside the system
- Seal any visible gaps around duct connections in accessible areas like basements or crawlspaces
- Schedule a professional inspection every three to five years regardless of DIY maintenance
How often that professional cleaning should happen depends on your household conditions. How often should air ducts be cleaned breaks down the right interval based on pets, allergies, home age, and NC's humidity.
Frequently Asked Questions
How far into the ducts can I actually clean myself?
Realistically, 10 feet or less from each register opening. Beyond that, the duct runs extend through walls, ceilings, and crawlspaces that household tools can't reach. Professional equipment accesses the full system length through the air handler connection using negative air pressure.
Is DIY duct cleaning worth doing at all?
Yes, as maintenance between professional cleanings. It removes surface buildup, keeps vent covers clean, and reduces the amount of dust that gets pushed into rooms from the nearest duct sections. It's not a replacement for professional cleaning but it's not useless either.
Can I rent professional duct cleaning equipment?
Specialized negative air pressure equipment and truck-mounted vacuum systems aren't typically available for rent at hardware stores. Some portable units designed for ductwork are available but they don't match the suction or reach of professional equipment. If the job requires more than surface maintenance, hiring a professional is the more cost-effective path.
What happens if I don't clean my air ducts at all?
Dust and debris accumulate over time, restricting airflow and forcing your HVAC system to work harder. In North Carolina's humid climate, moisture combines with that buildup to create conditions where mold can develop faster than in drier states. Energy bills climb, system efficiency drops, and contamination levels build up to where professional cleaning becomes a more involved job than it would have been earlier.
Do I need special protective gear for DIY duct cleaning?
A dust mask or respirator and safety goggles are worth wearing throughout the process. Disturbing accumulated dust can release allergens, mold spores, and fine particulate matter into the air around you. In older homes, duct insulation materials may contain irritants that make respiratory protection more important.
Should I clean ducts before or after changing my filter?
After. Clean the ducts first, then replace the filter as the final step. That way the new filter catches any fine particles that remain airborne after the cleaning rather than your old filter circulating them back through the system.
Is it worth having ducts professionally cleaned after doing it myself?
If it's been three to five years since your last professional cleaning, yes. DIY maintenance keeps surface buildup down but doesn't address the deeper contamination that accumulates over years. Is air duct cleaning worth it covers exactly when professional cleaning delivers real value for NC homeowners.
Ready to schedule a professional cleaning or not sure whether your system needs one? Get a free quote and our team will take a look and give you a straight answer.